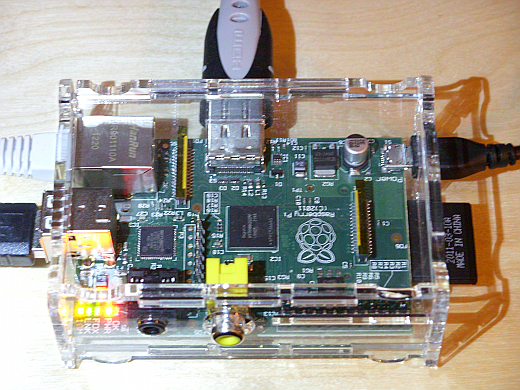
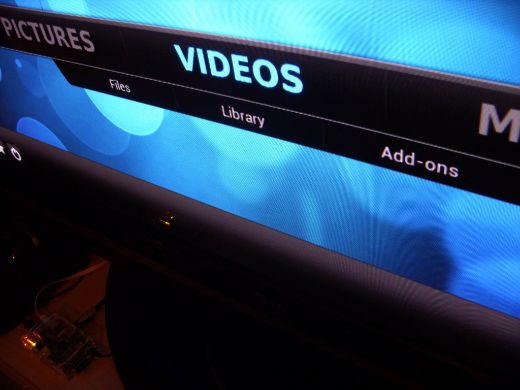
The Raspberry Pi is a single-board computer that plugs into a TV and in combination with OpenELEC it is a DIY Media Center running XBMC which plays videos up to 1080p.
Hardware and Software overview
There are two different types of Raspberry Pi boards (Wikipedia). Both have a 700 MHz CPU based on ARM11. But only Model B has a Ethernet connector and up to 512 MB RAM which is shared with the integrated GPU. You can connect it to your TV through a HDMI or Composite Cable.
If you order only the board, you still need a SD Card for the operating system and a Micro USB power supply. Maybe you already have both from an old mobile phone. In my case it works perfectly with a micro SD card and a SD adapter. If you want a nice case to protect your Raspberry Pi against dust, you should order this also. Or if you prefer a special design search one at ebay later.

There a some prepared Linux images, like Debian, Arch Linux and RISC OS, which you can download from raspberrypi.org but if you want to set up a XBMC continue this guide.
The GPU is optimised to play .mkv files out of the box, because H.264 encode and decoding is included by default. Also .avi files will play by default. Only if you later wish to play MPEG files like .mpg, .mpeg, and .m2v or VC-1 files like .wma and .wmv you need additional license keys which could be ordered separately.
Using OpenELEC
Beside some other XBMC images like Raspbmc and XBian, I always prefer openELEC because after some testing I figured out, that it is most up to date, very fast and easy to use.

First download latest Raspberry Pi Build from openELEC, extract the file and inset the SD Card to be used into you computer. A detailed description is also available, but in fact you only need a single command to copy openELEC (and delete all existing data) at your card:
sudo ./create_sdcard /dev/mmcblk0
If you later want to update it manually just switch into the target sub folder and copy all files to your SD Card:
cd ~/Download/OpenELEC-RPi.arm-2.99.2/target
sudo cp * /media/Storage/.update/
Now insert the SD Card into your RPi, connect at least the HDMI and the power cable to start the show and have fun!
Remote Control
There are some apps to control your XBMC remotely. But you probably have to enable it first in the options. With a extrenal USB Mouse this is easily possible.

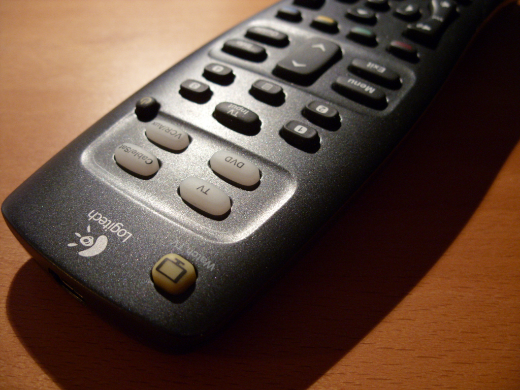
More comfortable is a real hardware remote control and if you already own a Logitech Harmony you also need a RC6 IR receiver and set the profile to Windows Media Center SE. To switch the audio stream add hash (#) and to switch the subtitle add star (*) to your Harmony profile at myharmony.com (see: remote.xml). For more information see the links below, and maybe search for “rc6 ir” or “mce ir” at ebay. In my case a “HP MCE Remote Control” works with the mentioned profile out of the box.
RPi Verified Peripherals
OpenELEC Supported Hardware
Creating an HTPC Activity on Logitech Harmony
Howdy very nice website!! Man .. Beautiful .. Amazing .. I’ll bookmark your web site and take the feeds also? I’m glad
to find numerous helpful info right here in the put
up, we need develop more strategies in this
regard, thanks for sharing. . . . . .
It is not my first time to pay a visit this web site,
i am visiting this web site dailly and obtain good
information from here everyday.
Fastidious answers in return of this question with genuine arguments and explaining everything concerning that.